Marijuana 101
Guide to Drying and Curing Marijuana Buds
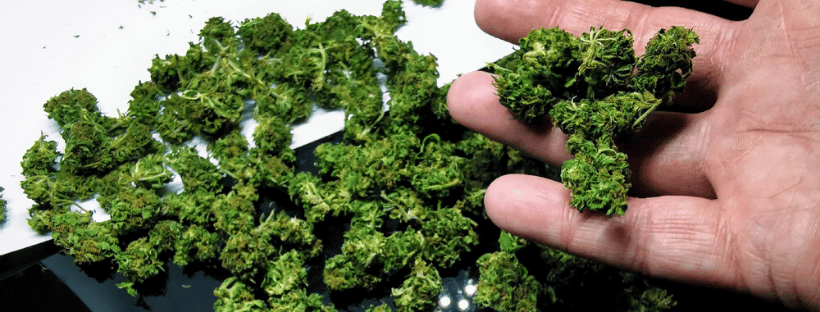
Excellent-quality buds do not simply pop out of thin air. They go through a tedious, rigorous process, known as the cannabis curing process, which entails drying the buds in a controlled environment for some time. Then, the buds are collected and stored in glass jars for some weeks for the curing process to ensue. This drying and curing process enhances the aroma of the buds and makes them more potent and less harsh.
Why Dry and Cure Marijuana Buds?
Right after harvesting, growers proceed to cure marijuana buds to ensure top-notch quality and maximize their product’s potency. The longer the buds are cured, the stronger and more exquisite the flavor is.
If done properly – with the right temperatures and processes – the drying and curing process entails:
- A significant improvement in taste and aroma, with the harsh newly harvested flavor and smell dramatically changing into that smooth grade AAAA whiff.
- Subtle notes and flavors are enhanced while the potency of the buds is greatly increased.
- The net effect of consuming dry-aged and properly cured buds is more positive, with many reporting on how grade AAAA buds are less likely to have a harmful effect.
- Proper drying and curing prevent the growth of bacteria and molds that spoil precious buds.
To note the difference between high-grade buds and buds that did not undergo the drying and curing process, try smoking AAAA buds and then buds directly taken from the plant, and you will experience the stark difference.
What You Need to Dry and Cure Marijuana Buds Properly
Before diving into the process, you need to have the basic equipment for drying and curing. All these tools are readily available and can even be found in online stores. For the drying and curing process, you need:
- Quart-size wide-mouthed mason jars.
- A drying rack.
- A hygrometer.
Keep in mind that the drying and curing process entails maintaining optimal temperatures for the buds. A hygrometer measures the air humidity inside the jars, so make sure that you purchase a hygrometer that can fit inside your mason jars.

Drying and Curing Process
While the drying and curing process may seem daunting, it’s not at all complicated. Follow these easy-to-understand steps and you will surely have high-grade buds every single time!
1. Cut down the plant. The process immediately begins with you harvesting the marijuana buds. How the plant is cut is essential in the success of this endeavor. Successful growers share that the plant needs to be harvested one piece or one branch at a time. A certain level of meticulousness is essential in this part.
2. Trim extra leaves. To improve the appearance of the buds, do away with extra fan leaves, especially the big ones. Leaving too many leaves leads to making the buds harsher. It is also important to consider the overall humidity in your area. If you are living in a drier area, keep more leaves. Cut off most leaves if you are in a humid area, as this quickens the drying process and ensures that mold will not build up.
3. Let the drying process begin. For optimal results, you need to ensure that the temperature of the room or area where you will dry your buds is at an optimal level, with the room temperature at around 70°F (21°C), with humidity at 50 percent. You can tinker with the temperature using common appliances like air conditioners, humidifiers, and heaters.
Growers usually hang the buds upside down for this part of the process. You can use clothes hangers, and any do-it-yourself way to do this, but a good drying rack is an investment you may want to tap.
Keen observation is key to successfully drying your buds. The process takes about three to seven days, depending on the humidity and temperature in your area. You would know that the buds are ready when their outsides already feel dry to the touch and their stems snap rather than bend. Remember that the drying process should not be hurried. Quick-dried buds result in low-grade products that taste and smell worse. Therefore, growers should not rush the process!
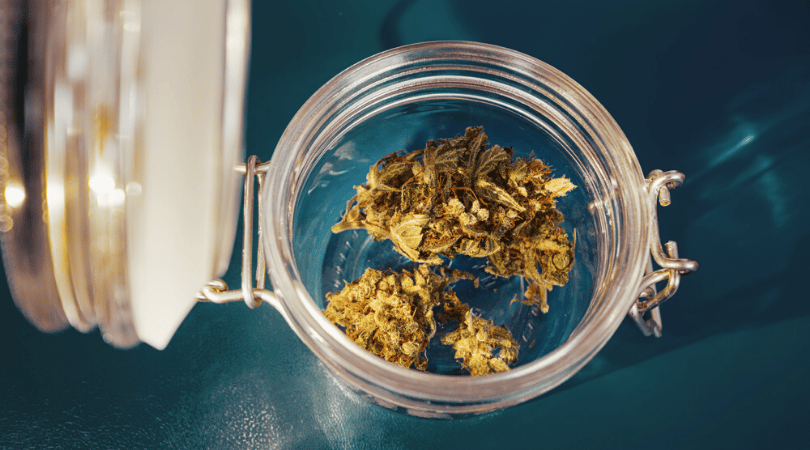
4. Jar them up. After successfully drying the buds, now you proceed to the curing part. The key point here is storing the buds in a controlled environment with humidity kept at stable levels, at around 60 to 65 percent. A hygrometer is a nifty tool for this step.
The best jars to keep the buds are wide-mouthed one-quart mason jars. Growers share that using bigger jars tend to encourage mold growth while using other types of jars apart from mason jars go awry as these don’t usually seal properly.
Each of these jars should only contain about an ounce of dried buds, which should take up about three-quarters of the jar, leaving a bit of air around. Try shaking the jar and see if the buds move around. If they don’t, it means the buds are not yet completely dry. Also, be wary if the buds develop a whiff of ammonia as this is a sign that bacteria are growing in that lump.
For the first few weeks, regularly inspect the buds and air them out. Check them at least once a day to ensure that no mold or bacteria is growing, and that the humidity is at an optimum level (the hygrometer should read 62 percent). The curing process extends up to six months, for maximum effect.
5. Long-term storage. After six months, buds are already at an optimal level. After this period, buds tend to mellow down and lose potency if their containers are not sealed properly, and are not kept in a cool, dark environment. Those who want to store their buds for longer consider vacuum-sealing and storing them in more tightly packed jars in a cool place.

Humidipaks to the Rescue
Growers usually have trouble with the curing process when it comes to maintaining the optimal humidity level. One way to avert this is to use humidipaks that can help maintain the humidity level in your jars. Humidipaks are readily available in many stores.
Conclusion
If you follow these steps through the drying and curing process, you will surely end up with grade AAAA buds! Want to know more about marijuana products or buy high-grade buds? Scroll through our list of products, mix and match, and explore our exclusive deals!

